DMG file is a compressed file format being used widely on Mac computer. Windows OS doesn't natively support DMG disk image files, so if you need to create a bootable USB drive from a DMG file, mostly for bootable Mac OS X or macOS installation USB, you need a special utility to help you complete the task.
There is also the possibility of converting the file into a format more suitable for Windows, which is the ISO file format for disk images. Considering the above, let's look at different ways to create a bootable drive from a DMG file on a Windows computer.
Since Windows doesn't offer native support for DMG files, you can first convert the file to ISO. Why? A lot of easier to find an app for making a bootable USB from ISO file. The easy way to do this is to use Command Prompt. Don't be intimidated by the non-GUI environment even if you don't have any experience. If you follow the steps below, you can convert any DMG file to ISO and then create a bootable USB using the converted file.
Step 1: Open Command Prompt by typing cmd in the Run windows and hitting Enter.
Step 2: In the command interface, go to the directory in which the DMG file is saved. You can do this by using the "cd" command followed by the file path, then pressing Enter. For example, if your disk image is in D: and Command Prompt is currently in "C:", then type "d:" (no quotes) and press Enter. If it is in a subfolder, type "cd \subfolder", and so on.
Step 3: Use the following command to convert the DMG file to ISO:
hdiutil convert /path/sourceimagefile.dmg -format UDTO -o /path/targetmage.iso

Step 4: Once the ISO file has been created, you can use a burning tool to create the bootable USB drive. To do that, continue with this guide.
Cons:
Androidphonesoft DMG Editor is a powerful software application for Windows that will allow you to manage the non-native DMG format even if you have no experience. The interface is uncluttered, and you can even use the tool to view files, extract them, edit the DMG and even copy it to a disk. The burn function has one of the highest success rates in the industry, which makes this an ideal utility for our purpose.
Created by the talented team of developers at Androidphonesoft, DMG Editor is currently the most intuitive Windows app for handling Apple's disk image format. Each of its functions have been tested on various Windows versions, with different types of DMG files and on different PC brands. This thorough testing means no wasted DVDs or corrupted files. As long as your DMG file is in good shape, you can directly create a bootable disk.
Download and install DMG Editor on your Windows PC.
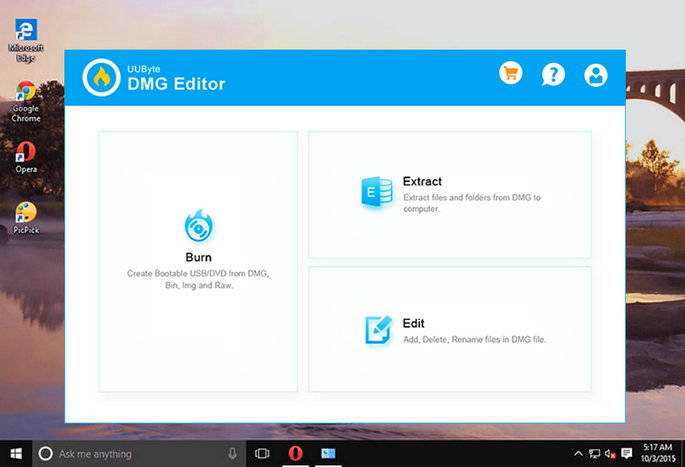
Launch the application and click on the "Burn" section. You will also see other modules such as Edit, Extract.
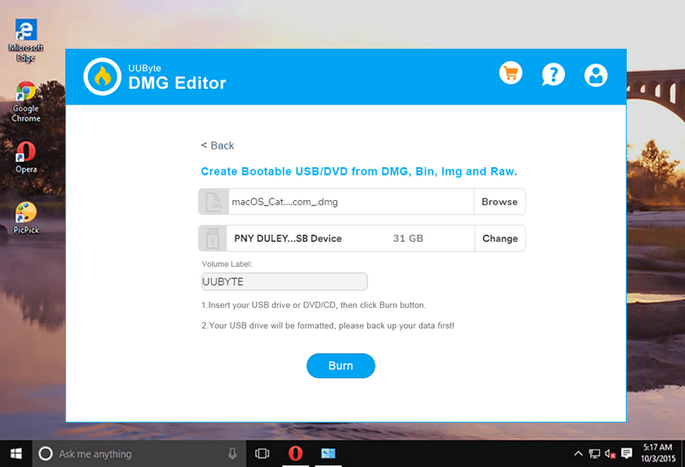
Now import the DMG file by clicking the "Browse" button and choose the USB drive name.
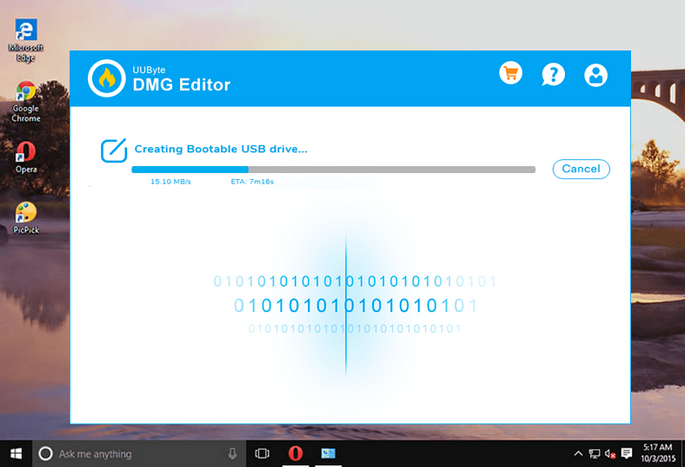
Click "Burn" button at the bottom of window to start burning DMG file to USB drive. Once it get started, it displays a progress bar and you have to wait for the task to be finished. Usually, it takes 20 minutes depending on how large the file is.
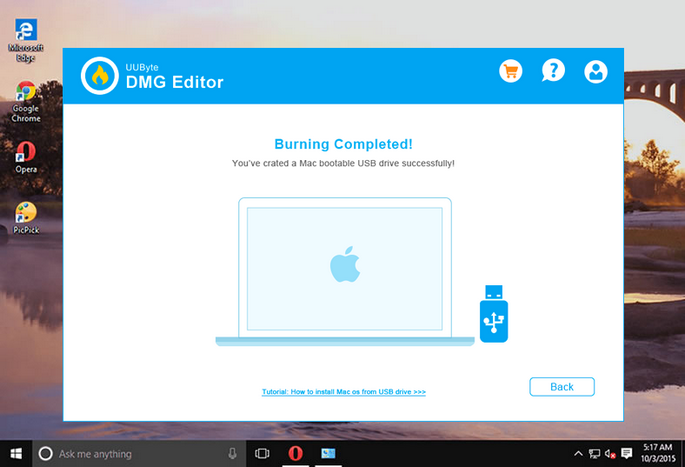
In a few moments, your bootable USB flash drive will be ready for use. Since you haven't done any conversion, you can use this directly on a Mac for program installation, which you cannot do with the first method.
Another well-known disk image utility is PowerISO. Apart from being ideal for burning ISO files, it can also burn a DMG file to USB to create a bootable drive. There are some settings that you have to keep in mind when burning with this software, but it's easy to get the hang of it once you do it a couple of times.
Step 1: Download PowerISO and install it in your Windows PC. Launch the app and insert a USB drive into a free USB slot in your computer.
Step 2: You can import the DMG file directly by clicking on ‘Burn' in the toolbar or going to Tools > Burn. In the Burn window, select the DMG file from the Source File section.
Step 3:Now review the settings to select the burn speed. The default will be the maximum your hardware can handle, so you can reduce that. You can also choose to finalize the disk and verify it. Finalizing means you can't save any more files on the drive, but it primarily applies to DVDs and CDs. Choosing ‘Verify' will prompt the software to execute an additional process after the burning is done. Any errors in the bootable USB will show up at that point.
Step 4: Now click on "Burn" and wait for the progress bar to reach 100%. Your bootable USB is now ready.

Cons:
The second two methods are recommended if you don't have much experience working with DMG files, but DMG Editor will appeal to novices and experts alike. The clean interface and minimal user input means a lower chance of errors while creating the bootable media.
![]()
![]()
![]()
![]()

