If you are an Android user and only use the applications that are used with the tools and know in order to complete an action, then you have to go through this article. But if you decide to start the device itself, then this is the right place for you and we have prepared a step-by-step tutorial that guides you through the process.
Therefore, if you have a phone or tablet Android and want to apply the method of the root "one click,” then you should try and Android Root Pro, which work with almost all Android devices on the market and at any time you can enjoy full access to all applications and tools. The solution Following a click is the solution to the Root and Unlock function has been developed to help Android users that are not used for complex operations on their devices.
What You Should Know Before You Start Rooting Device?
First, you need to prepare your device and see if you really want to root, following the list below. This will help you see all the things that should be mentioned, we refer to the pros and cons of rooting here.
• Rooting your Android device means no more warranty. The root process is an unofficial operation so this aspect is not the subject of insurance guarantee of the device.
• However, there is a method by which you can restore your device and get the collateral back. This means lowering the stock ROM or an official firmware update. Another method of restoring the warranty is for the restoration of flash meter or the application of a non-root process.
• It is recommended to back up Android data that is already stored in memory internal storage device before you start. The system can delete all your data so we advise you to have all your saved personal information and make a backup of them.
• You must enable the debug option on the phone. It will do so by following these steps: Go to Menu-select Settings, go to Applications and from the option to choose the USB debugging Development.
• Remember that for any process that takes time on the device's battery status must be greater than 60%, and if the battery is lost, the steps it has already gone through, run the risk of starting will be lost.
![]()
![]()
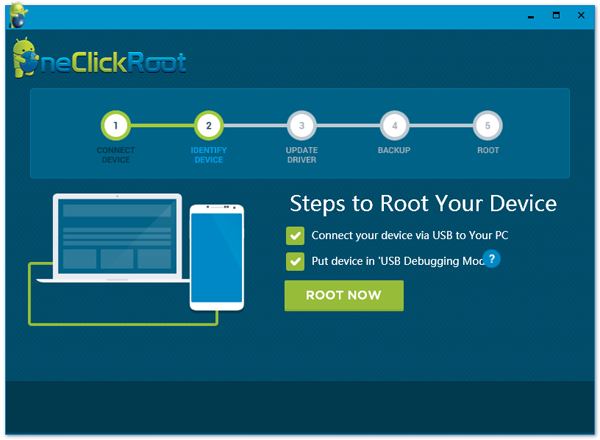
Free download Android Root Pro , install it on your PC (Windows), and then launch it but make sure you have Internet access. Then connect your Android device via USB but make sure on your Android device USB Debugging mode is enable.

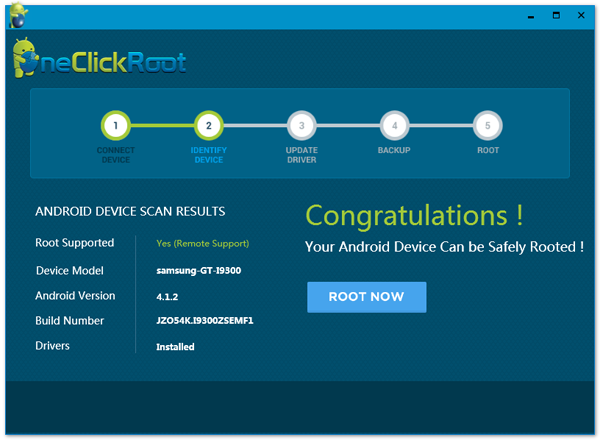
Once your device is detected by the program successfully, the program will start to identify and analyze your device, it will automatically download and update the driver when it requires. Don't forget to enable USB debugging on device.
When everything is ready, directly click Root button to start the rooting task, it may take some time to finish the whole process, you can sit back and wait while the utility does its thing. You will get a pop-up window prompting you the rooting process is finished.
In the end, that's it!, a simple method with great results. Now you can easily install a custom recovery image and upgrade to a custom firmware ROM. This Android Root Pro program can be able to effectively, and safely root your Android phone and tablet. You need no longer worry the data loss or running into a root problem halfway.
![]()
![]()
![]()
![]()
![]()
![]()